

Who doesn’t love a lovely dessert like the Oreo Cheesecake! Having someone over to impress or simply having a sweet tooth craving? Try making your own No Baked Oreo Cheesecake! It uses only a few ingredients.
It is so easy to make! As easy as 4 – 3 – 2 – 1!
INGREDIENTS LIST
Base
- 48 Oreos
- 8 TableSpoons (120 Grams) Butter
For the Actual Cheesecake
- 500mg of Creamcheese (Softened to room temperature)
- 1.5 cup of powered Sugar (150g)
- 3 cups of heavy whipping cream
- 30 Oreos
Toppings (Optional but so Delicious)
- 12 Oreos
TIPS
- I would suggest using a springform tin so that the cheesecake will not lose its shape after digging it out of the cakepan. Unfortunately, I do not own one, so I substituted it with a cakepan.
- It is important to incorporate the butter with the crumbs for the base so that it will hold up the rest of the cheesecake. You don’t want an ugly looking cake.
- Ensure that the cream cheese is room temperature before adding the other ingredients. Otherwise, the cheesecake filling would not be very smooth as there will be lumps.
- Having more Oreos is better than having less! Oftentimes, I don’t have enough to make the base. Any extras will give you the excuse of snacking while making the cheesecake wink
- You can adjust your sugar level accordingly! But I would not suggest less than 70% or it would not taste as good. (Take it from me.)
- Time to chill: I would suggest 5 to 6 hours. Otherwise, you’ll be drinking your cheesecake. Yikes. It would be even better to leave it overnight!
INSTRUCTIONS (As easy as 4 – 3 – 2 -1)
Prepping
- Take out all ingredients (except for the whipping cream) out from refrigeration. Allow the cream cheese to defrost to room temperature.
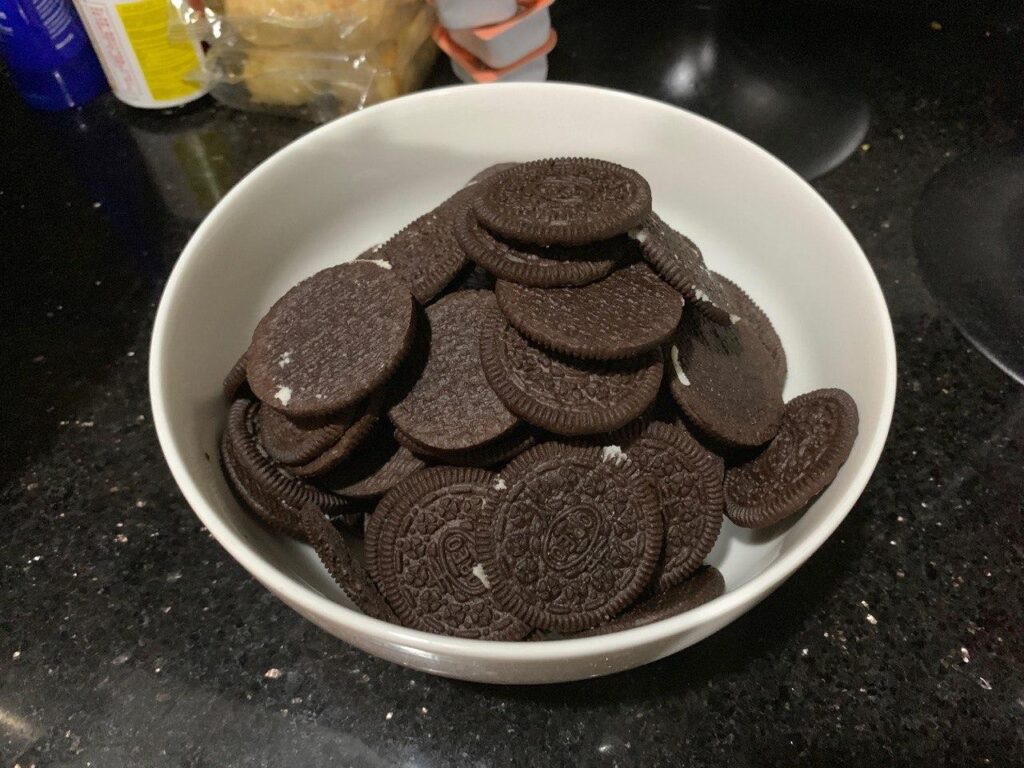
- Separate the Oreo cookies and cream. Put the cream into a separate bowl. It will be added to the cheesecake fillings later.
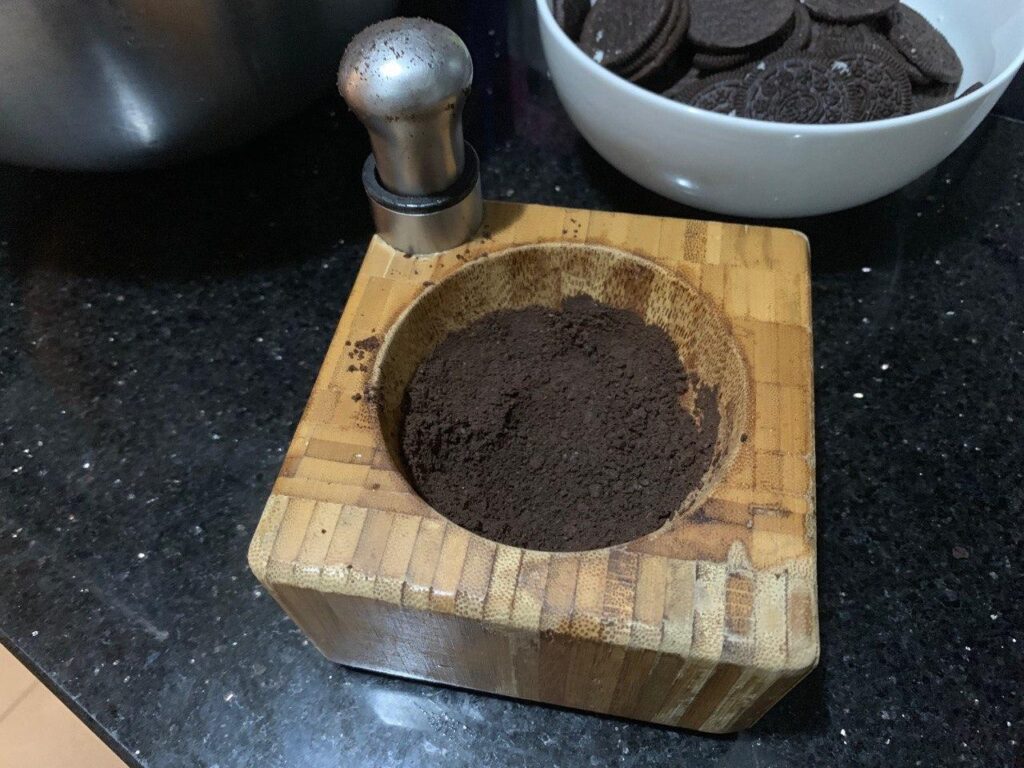
- Crush all the Oreo cookies into powder form. The finer the crumbs, the easier for the crumbs to form a better base. As for the cheesecake fillings and toppings, go crazy with the form of cookie you want!
- Set the crumbs aside.
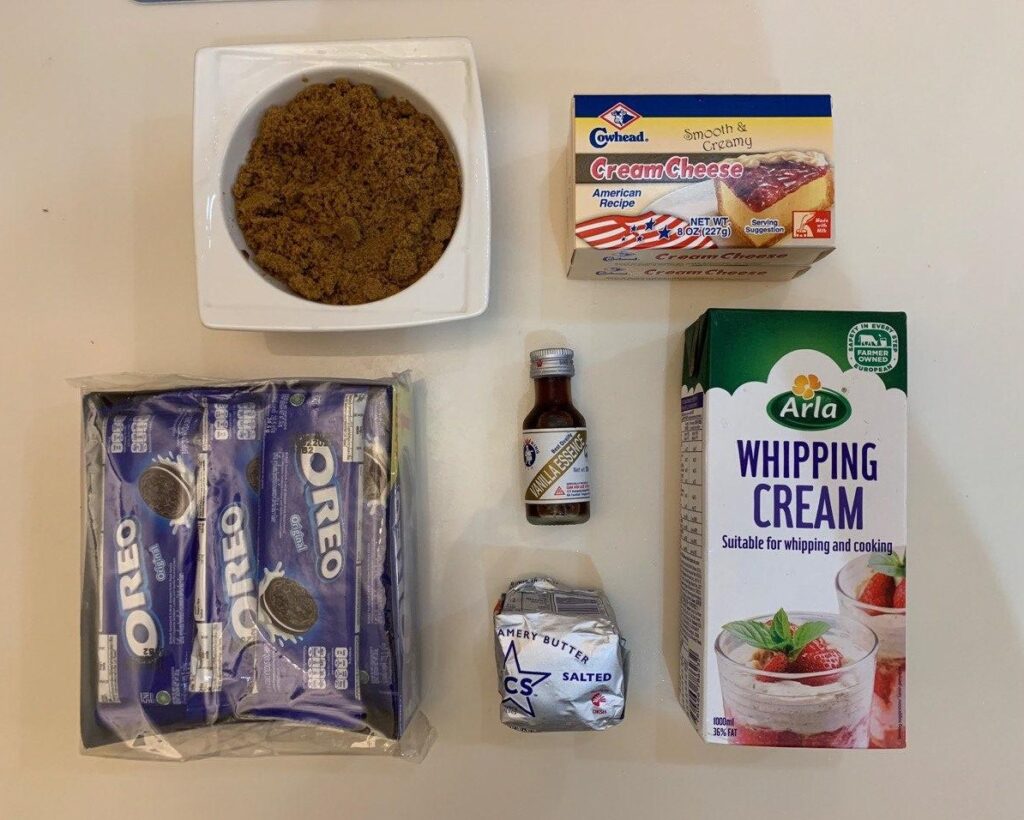
The Vanilla Essence is optional.
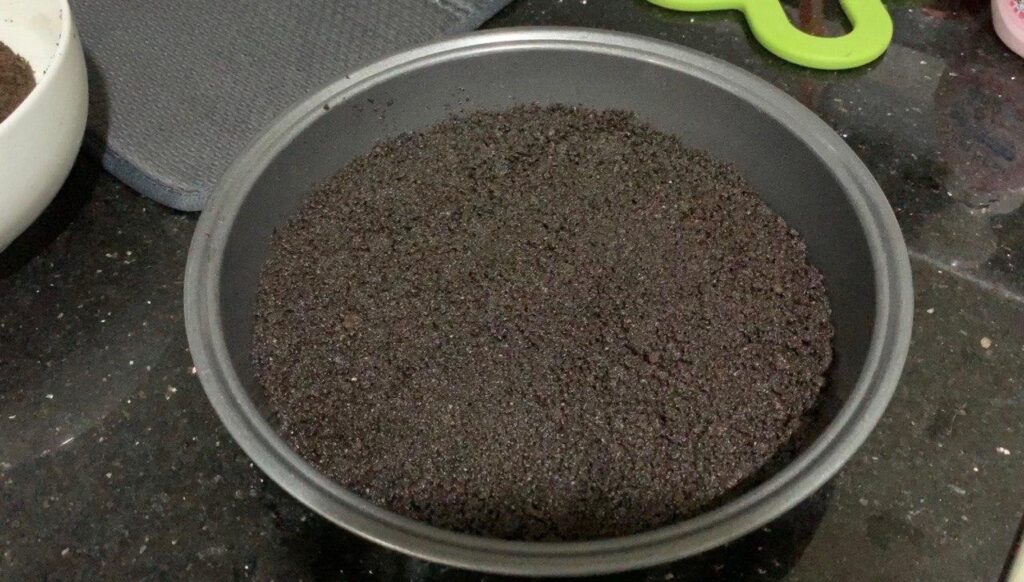
To make the base:
- Heat the butter in a microwave. Alternatively, you may also do so using a pan as I did. Once the butter is cooled, mix the butter with the Oreo crumbs which were set aside.
- When the crumbs resemble wet soil, add the crumbs into the pan. Firmly press the crumbs into the pan such that it is even. The more packed the crumbs are, the firmer the base would be. I would suggest using the base of the measuring cups or anything with a flat surface to ensure the evenness of the base.
- Refrigerate the pan while preparing the cheesecake. This will allow the crumbs to stick together, forming a firmer base (Optional).
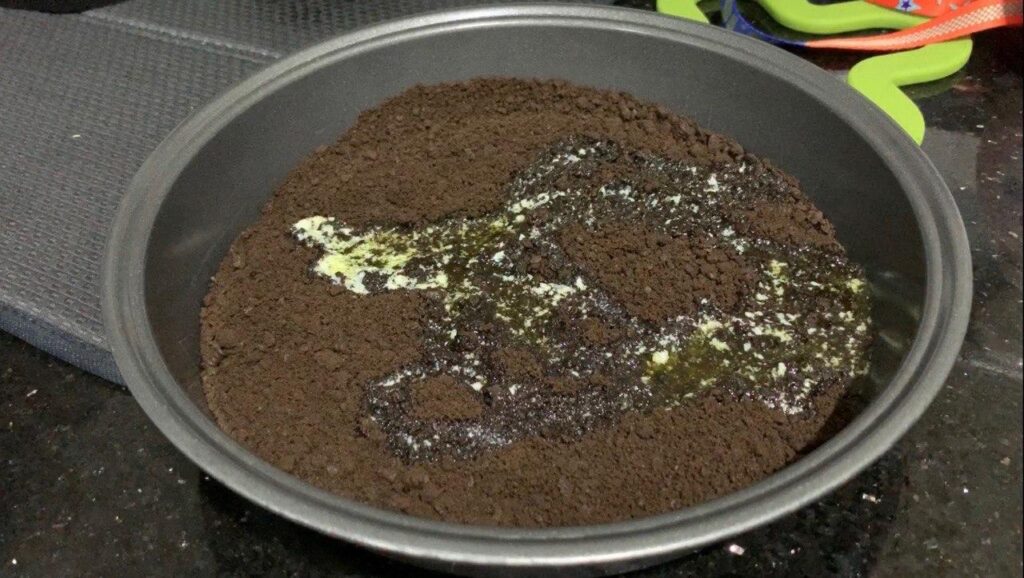
The butter will be the binding agent for a good base.
If it does not, there may not be enough butter.
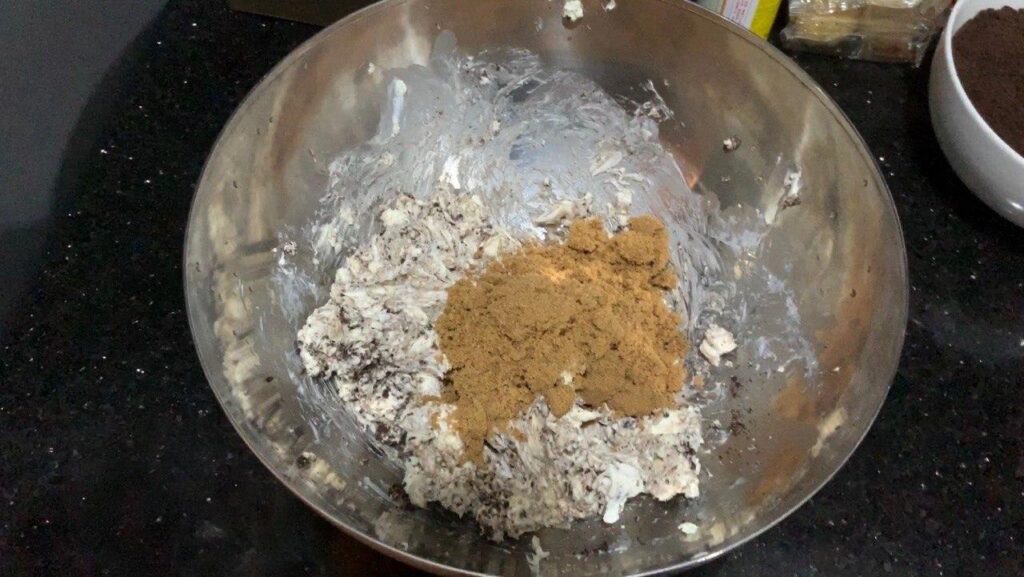
To make the cheesecake filling:
- Add the room temperature cream cheese, sugar, Oreo crumbs and Oreo cookie cream into a mixing bowl. Mix them up until they become a smooth mixture.
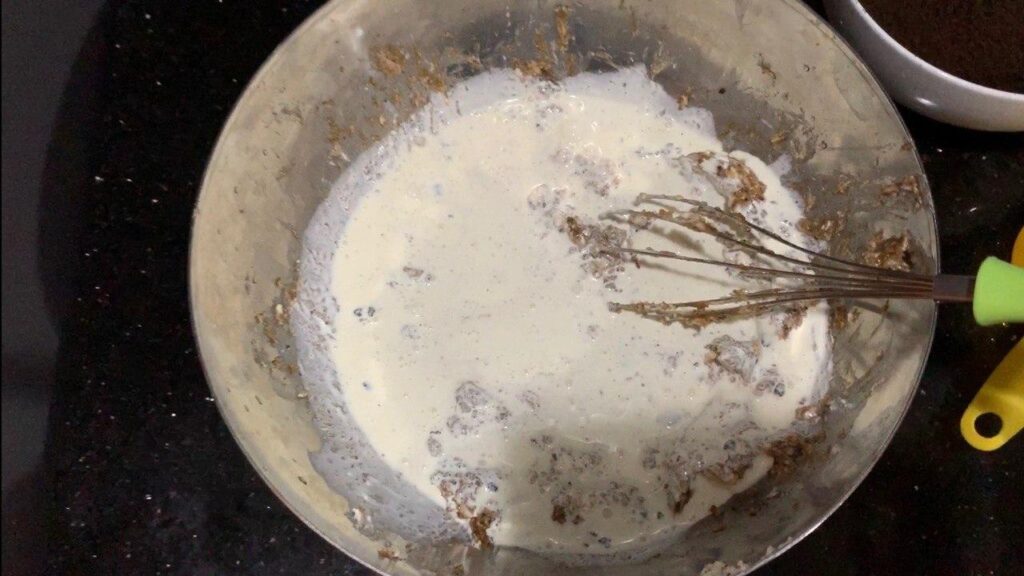
- Add the first half (1.5 cups) of whipping cream cold and mix it well. Best to use a handheld mixer if you have one. Then add the remainder when it becomes more smooth.
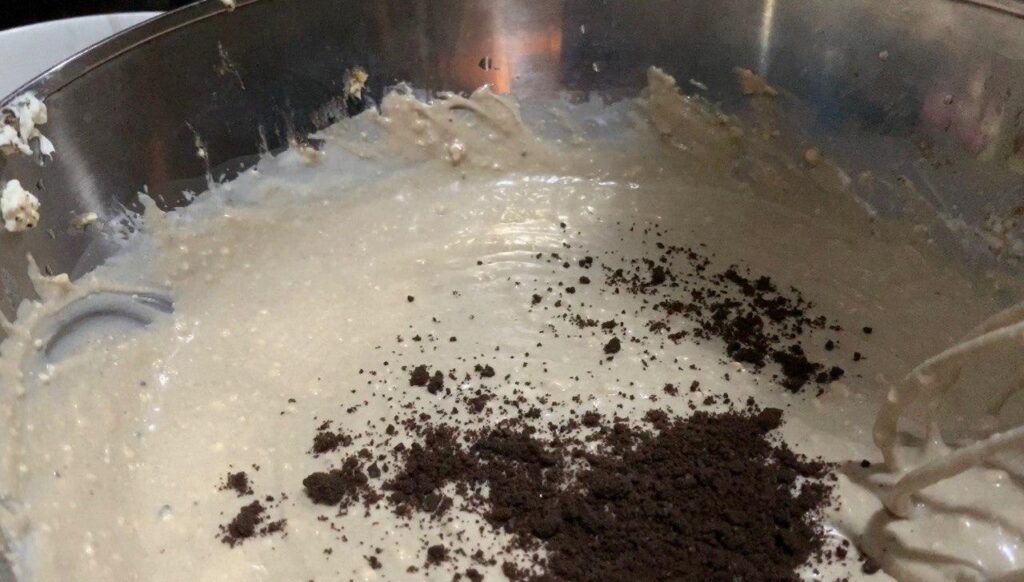
Feel free to add more Oreo crumbs and go crazy!
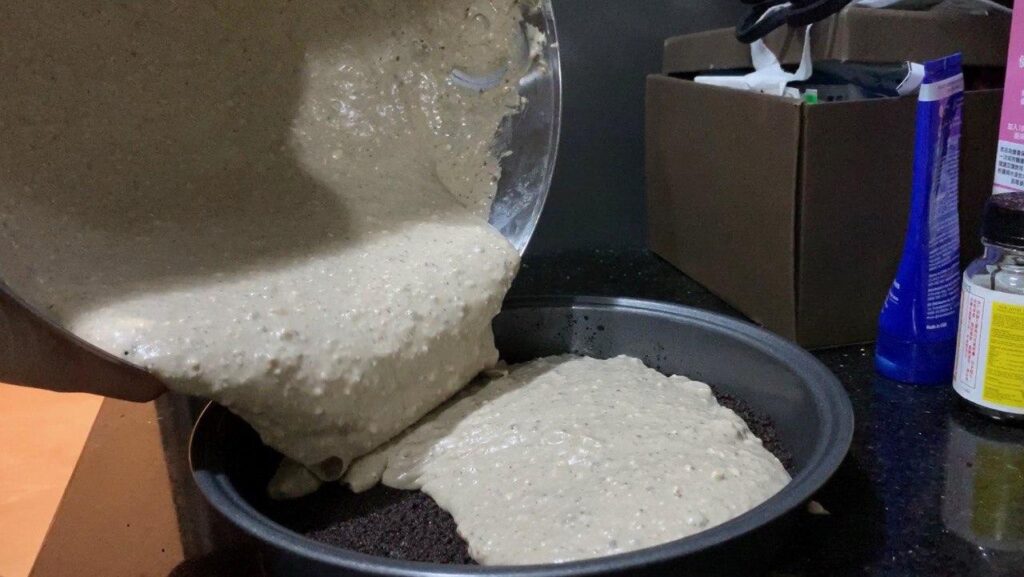
Putting them together:
- Remove the pan from the refrigerator. Add the cheesecake filling into the pan. Spread them so it is even. Add Oreo toppings (optional) and put the pan back into the refrigerator to chill!
For the cheesecake to chill faster, I would suggest putting it into the freezer instead.
Eating them and Leftovers:
Remember to hide a secret stash for yourself as they will disappear so quickly! In the situation where everyone is allergic to cheesecake, you can continue refrigerating them and eat them whenever you want!
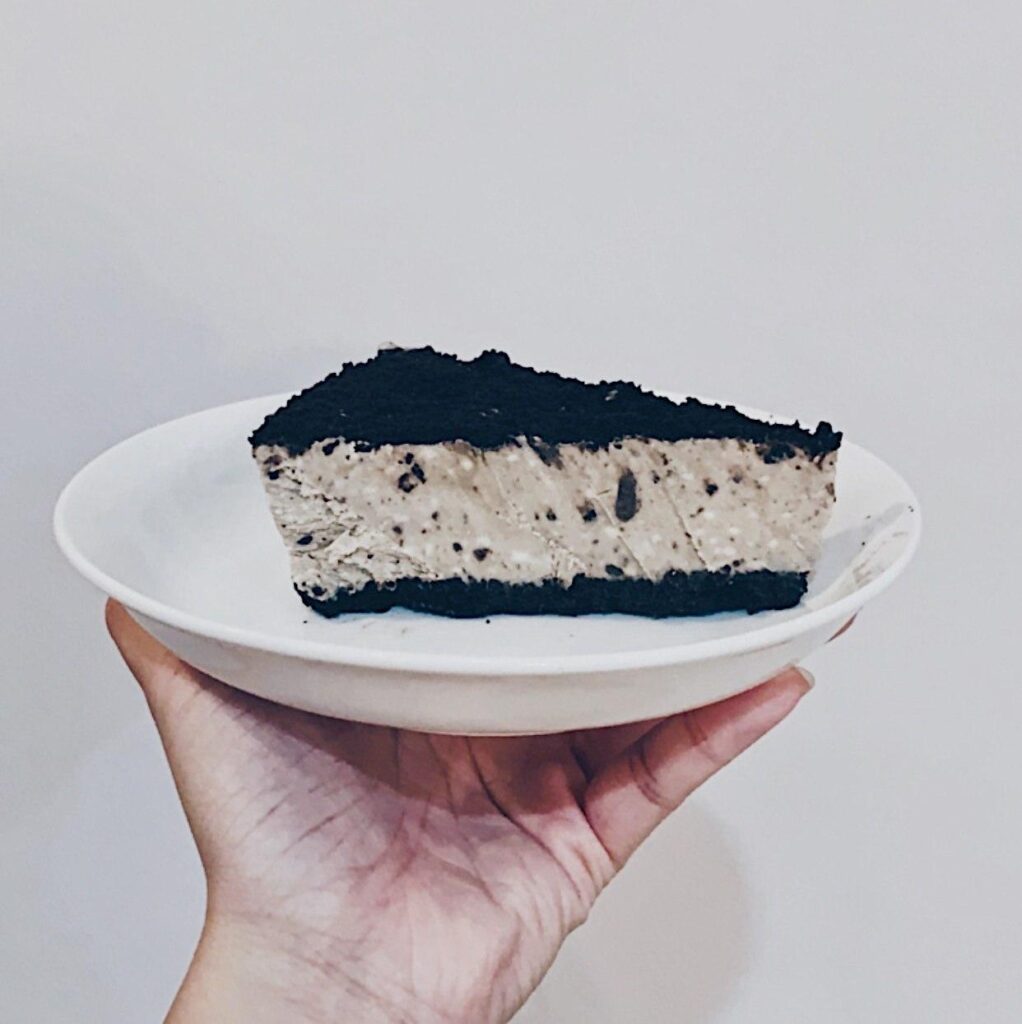
Have fun and enjoy your very own Oreo cheesecake! Be prepared to be pestered for the best Oreo Cheesecake recipe 🙂
Let me know down in the comments what your favourite desserts are!


0 Comments